The short answer
Before plastering, bring a neutral wire to every switch box, leave room in the distribution board for a Spark 16-CH Relay, and put a power point at each window planned for a curtain or blind motor. Run the cable your intercom kit specifies (UTP Cat5 or Cat5e for the Spark S-302), power and network cable to each control panel, and speaker cable for amplifier panels.
On this page
Smart home wiring checklist: what to run before plastering
Most Spark devices talk over Zigbee or Wi-Fi, so no control bus has to reach every switch. They still need ordinary wiring in the right places: easy while the conduits are open, hard once the plaster is on.
Take this list to your architect and electrician before the first fix:
- A neutral in every switch box, and room in the box wherever you plan a module.
- Board space for a 16-CH Relay if circuits will be switched there.
- A power point at every motorised window, on the motor's side.
- Intercom and lock cable from the door station to the indoor monitor.
- Power and network cable at each control panel, plus speaker cable for amplifier panels.
- A floor sensor for a Spark T-50 thermostat, laid before the screed.
- Power on the roof for the tank sensor, and a socket inside for its display.
- A central router position, with power and network cable for the Zigbee gateway.
Weighing a wired bus system instead? Our guide to KNX vs Zigbee sets out the difference.
Neutral wire for smart switches: one in every box
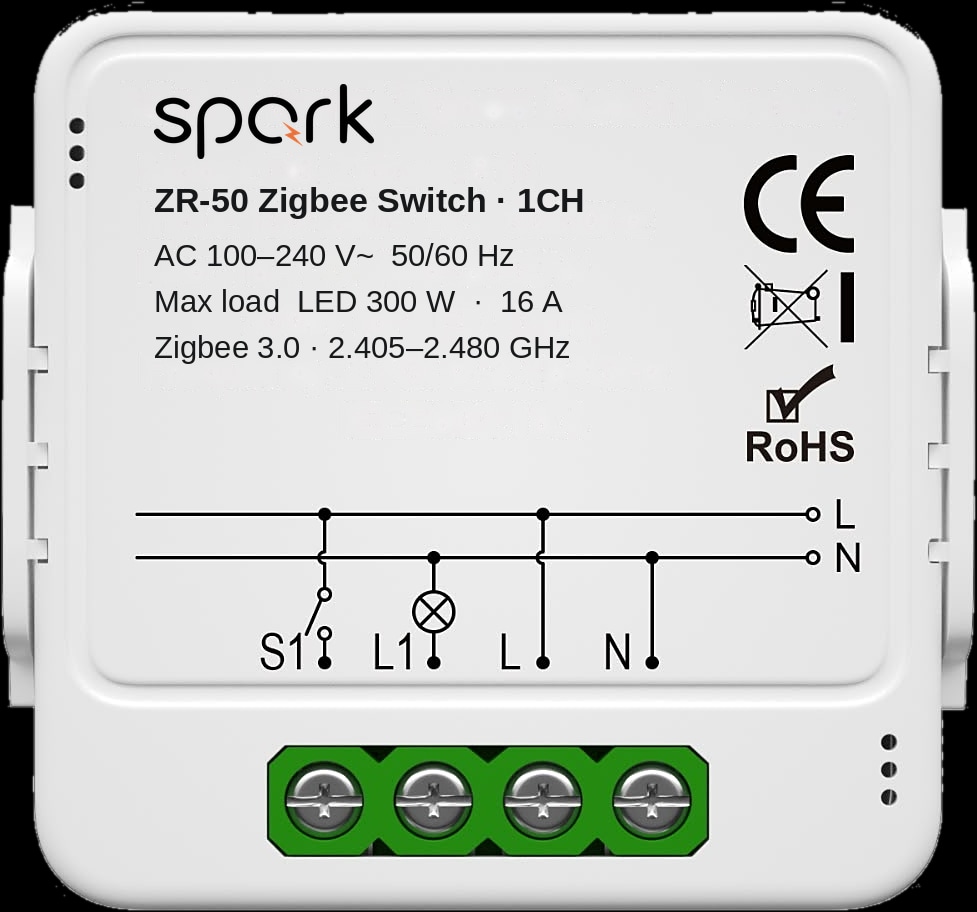
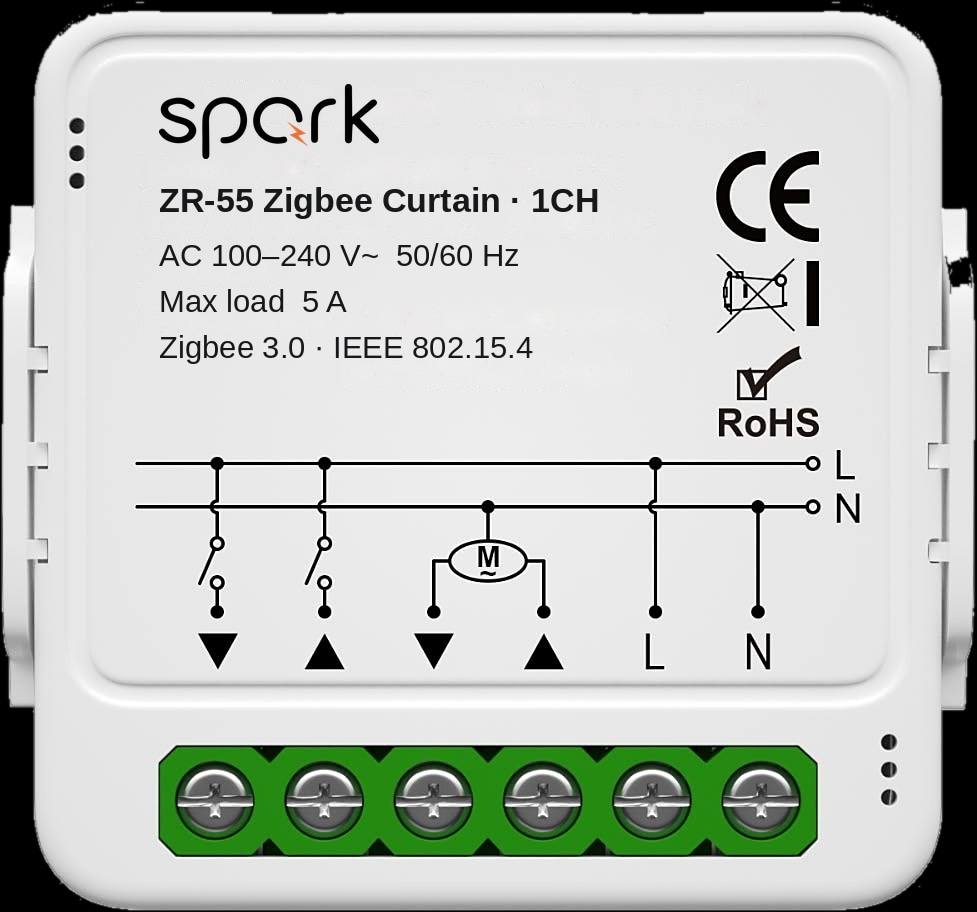
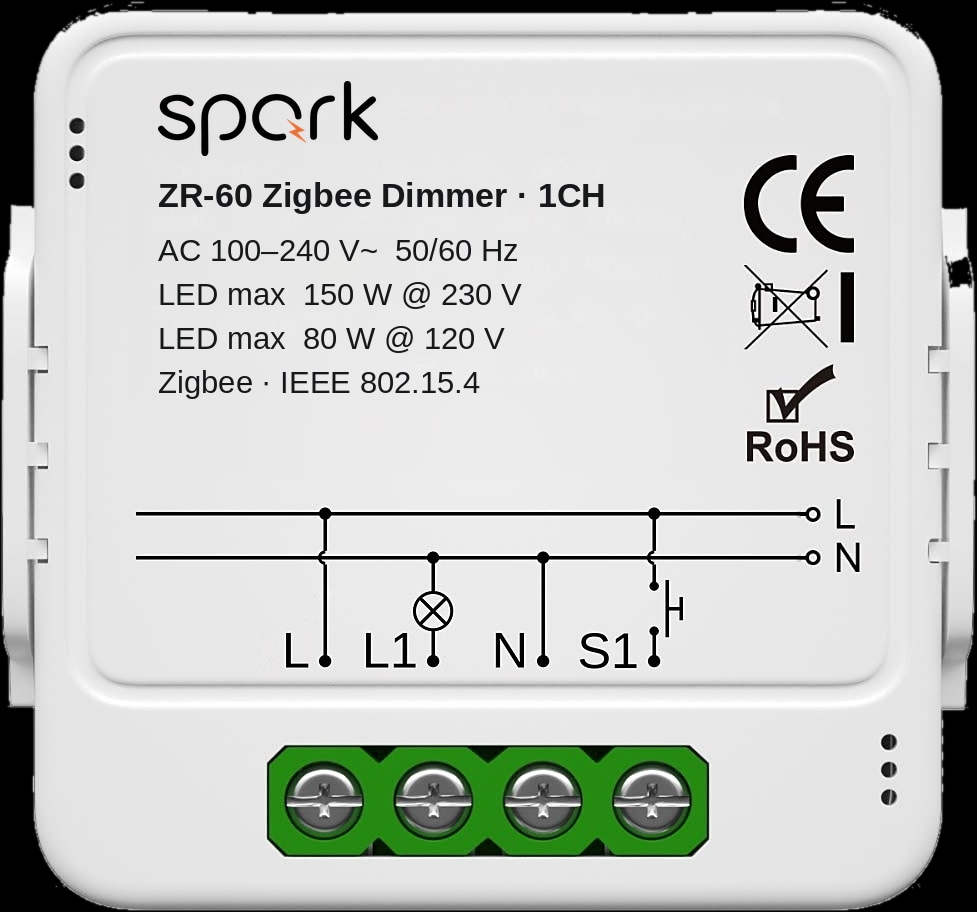
Every Spark module that sits behind a switch needs a neutral in the box: the ZR-50 switch module, the ZR-55 curtain module, the ZR-60 dimmer and their Wi-Fi versions. So bring one to every switch box.
A smart module stays powered all the time, so it needs the neutral as well as the live. In a new build, that is one more conductor in a conduit you are already running.
Spark's wall switch specifications don't list a neutral requirement, so a Spark partner confirms what each one needs. For modules behind switches you already like, see our guide to making normal light switches smart.
Room in the box
The ZR-50 and ZR-55 measure 39.2 × 39.2 × 18 mm and share the box with the switch and its wires. The specifications give no minimum box size, so agree the box with your electrician and a Spark partner before it is set in the wall.
Modules behind the switch or a 16-CH Relay in the board?
Both work, and many homes mix them. A module keeps each room wired as usual. The 16-CH Relay brings many circuits to one DIN-rail module in the distribution board, which suits a new build planned for it.
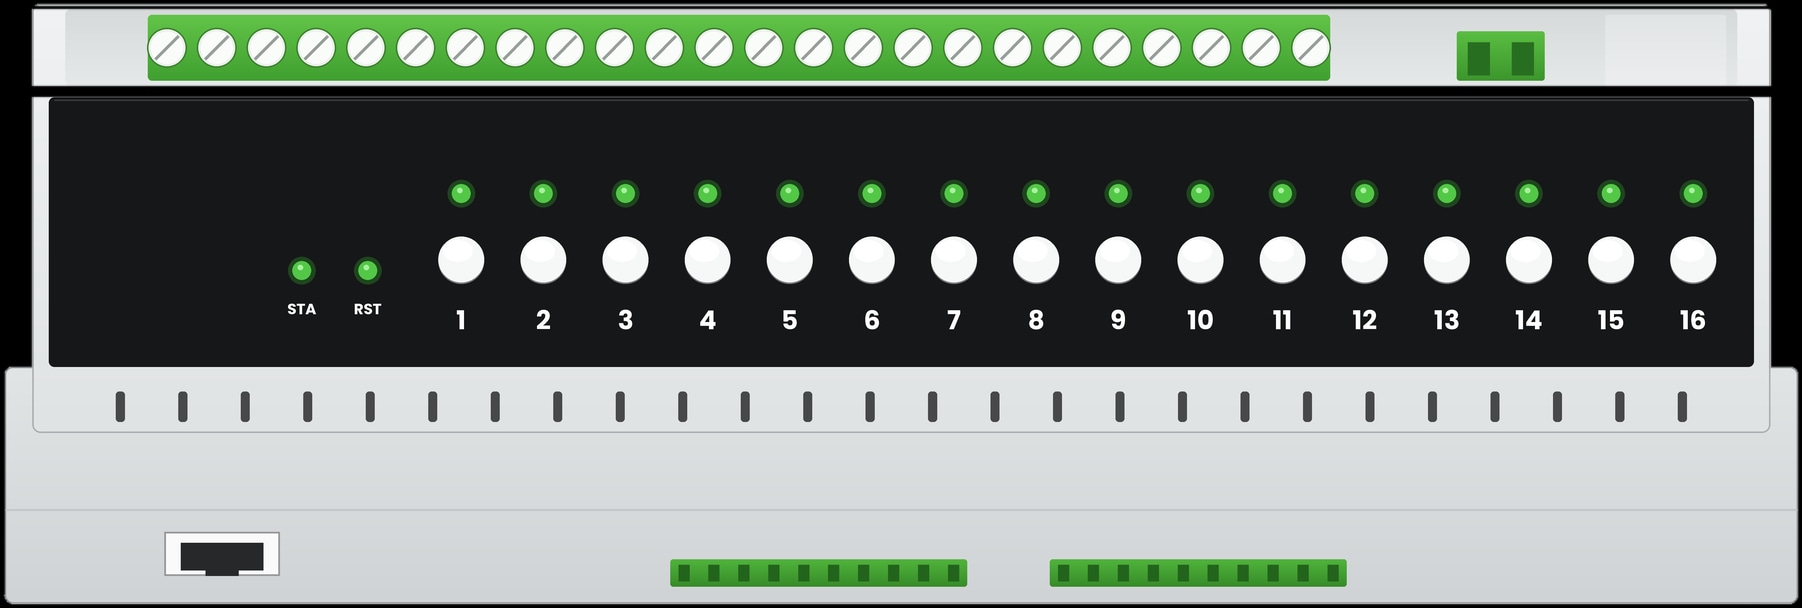
It has four 50 A magnetic latching relays (channels 1 to 4) and twelve 16 A relays (channels 5 to 16), in a Zigbee 3.0 or a Wi-Fi version. Circuits are wired through the board, and wall controls connect to its inputs: RS485 panels, dry-contact, momentary or rocker switches.
| Device | Where it goes | Controls | Ratings | Wiring to plan |
|---|---|---|---|---|
| ZR-50 switch module | Wall box | 1 to 4 lighting circuits | 1CH: LED 300 W / 16 A | Neutral in the box |
| ZR-55 curtain module | Wall box | 1 or 2 curtain or shutter motors | 1CH: 5 A. 2CH: 2 × 5 A | Neutral, plus cable to the motor |
| ZR-60 dimmer | Wall box | 1 or 2 dimmable LED circuits | 1CH: LED 150 W at 230 V | Neutral; dimmable LED lamps only |
| 16-CH Relay | DIN rail in the board | 16 circuits: lights, or curtain, door and gate motors | Channels 1 to 4: 50 A. Channels 5 to 16: 16 A | Circuits to the board, switches to its inputs |
A Spark partner can draw the split between wall boxes and the board with you, circuit by circuit.
Modules and relay for the switch boxes and the board
Power at every window for curtain and blind motors
Put a power point at the head of every window that will get a motor, on the motor's side. It is easy to forget and hard to add once the curtain box is built.
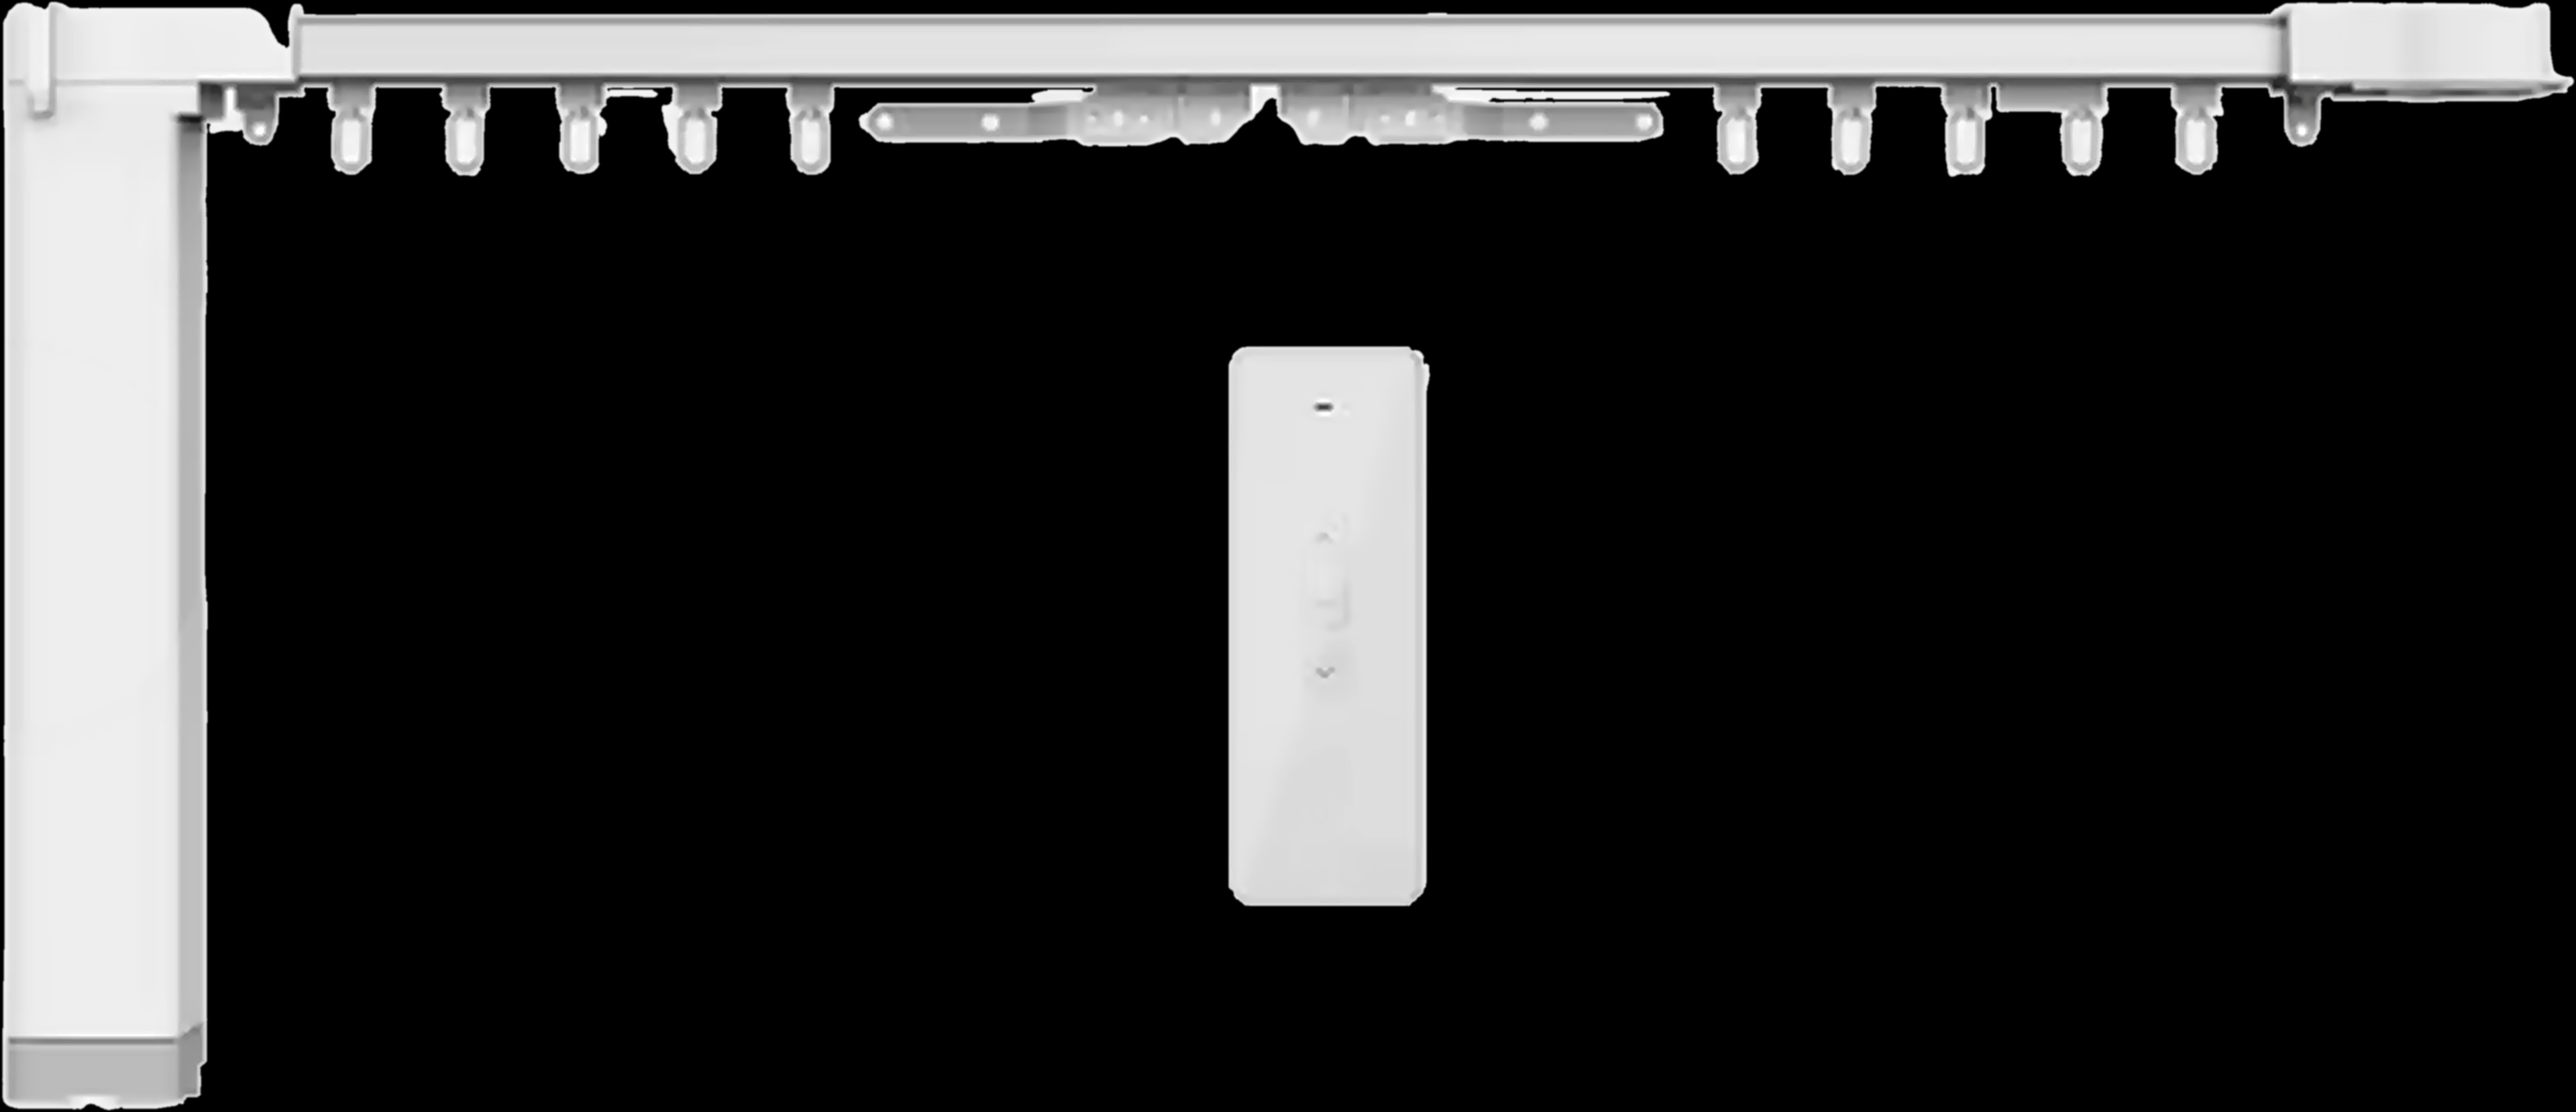
The MC-10 curtain system has a 1 m power cable with an EU plug, and its motor fits at the left or right end, so the outlet goes on that side. Leave a curtain box deeper than 10 cm for one track, or deeper than 20 cm for two.
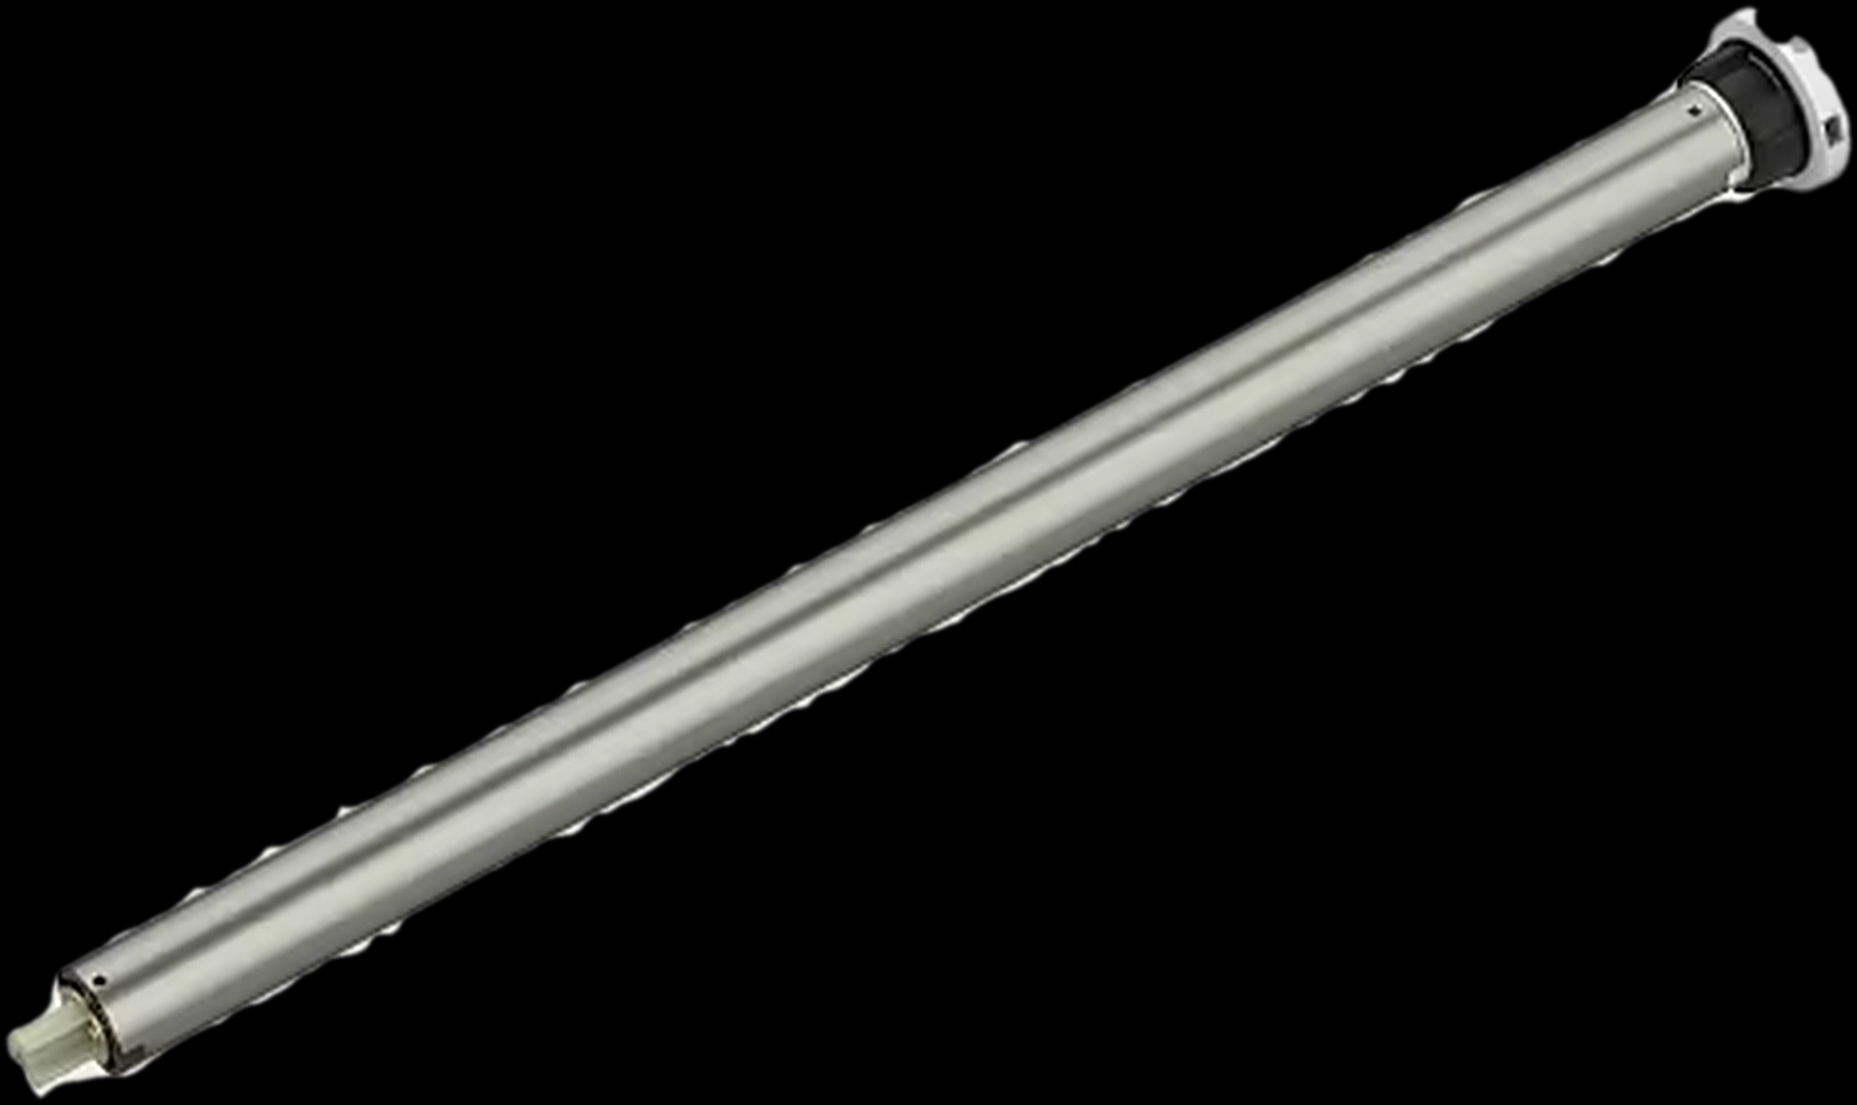
The MC-20 tubular motor fits inside the tube of a roller, zebra or Shangri-La blind. Its specifications don't give the cable or plug, so a Spark partner confirms what to leave at the blind head.
Both motors come in Wi-Fi or Zigbee versions. A shutter driven from the wall box by a ZR-55, or from the board by the 16-CH Relay, needs its motor cable run before plastering too.
Cat5 or Cat6 for the intercom, and the network behind it
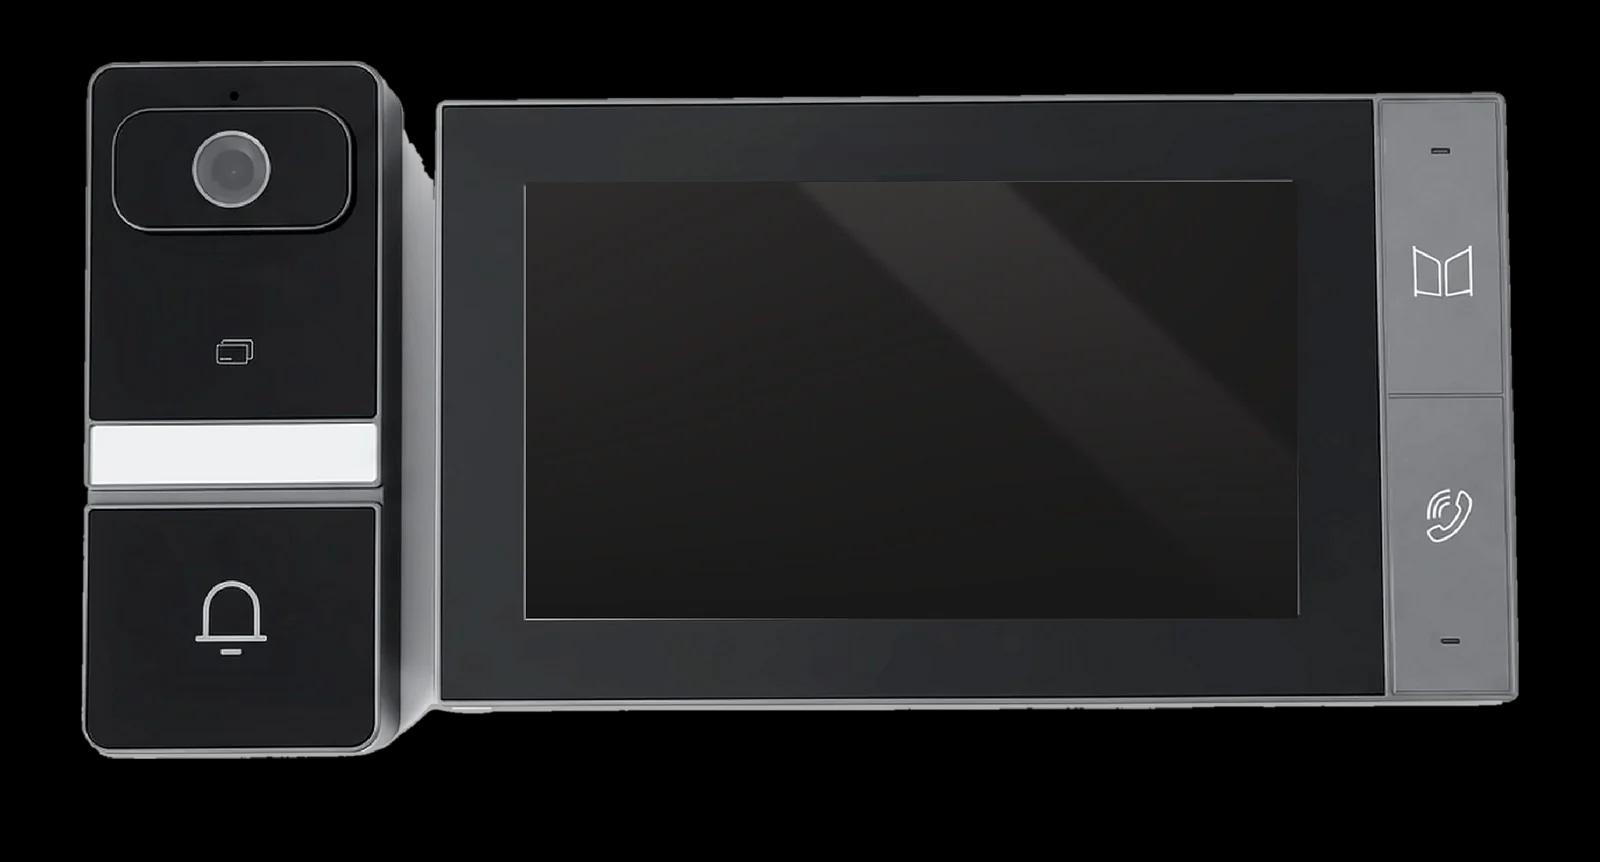
Run the cable your intercom kit specifies, in conduit, from the door station to the indoor monitor. The Spark S-302 Ethernet IP kit uses one UTP Cat5 or Cat5e cable, up to 50 m, powered by a PoE switch or a DC 24 V supply. Its lock needs an RVV 2×1.0 cable, up to 10 m.
Searching for Cat6 for an intercom? Spark's standalone face recognition door stations list PoE over Cat5 or Cat6, so choose the model first, then pull the cable it names.
The router, the gateway and Wi-Fi
Give the router a central place with power and the incoming line; Spark's Wi-Fi modules and panels use 2.4 GHz. The Ethernet version of the Hub-Z Zigbee gateway sits beside it on a network cable, with USB Type-C power and up to 128 sub-devices. Concrete walls weaken Wi-Fi, so run network cable to far floors too.
Control panels and speaker cable
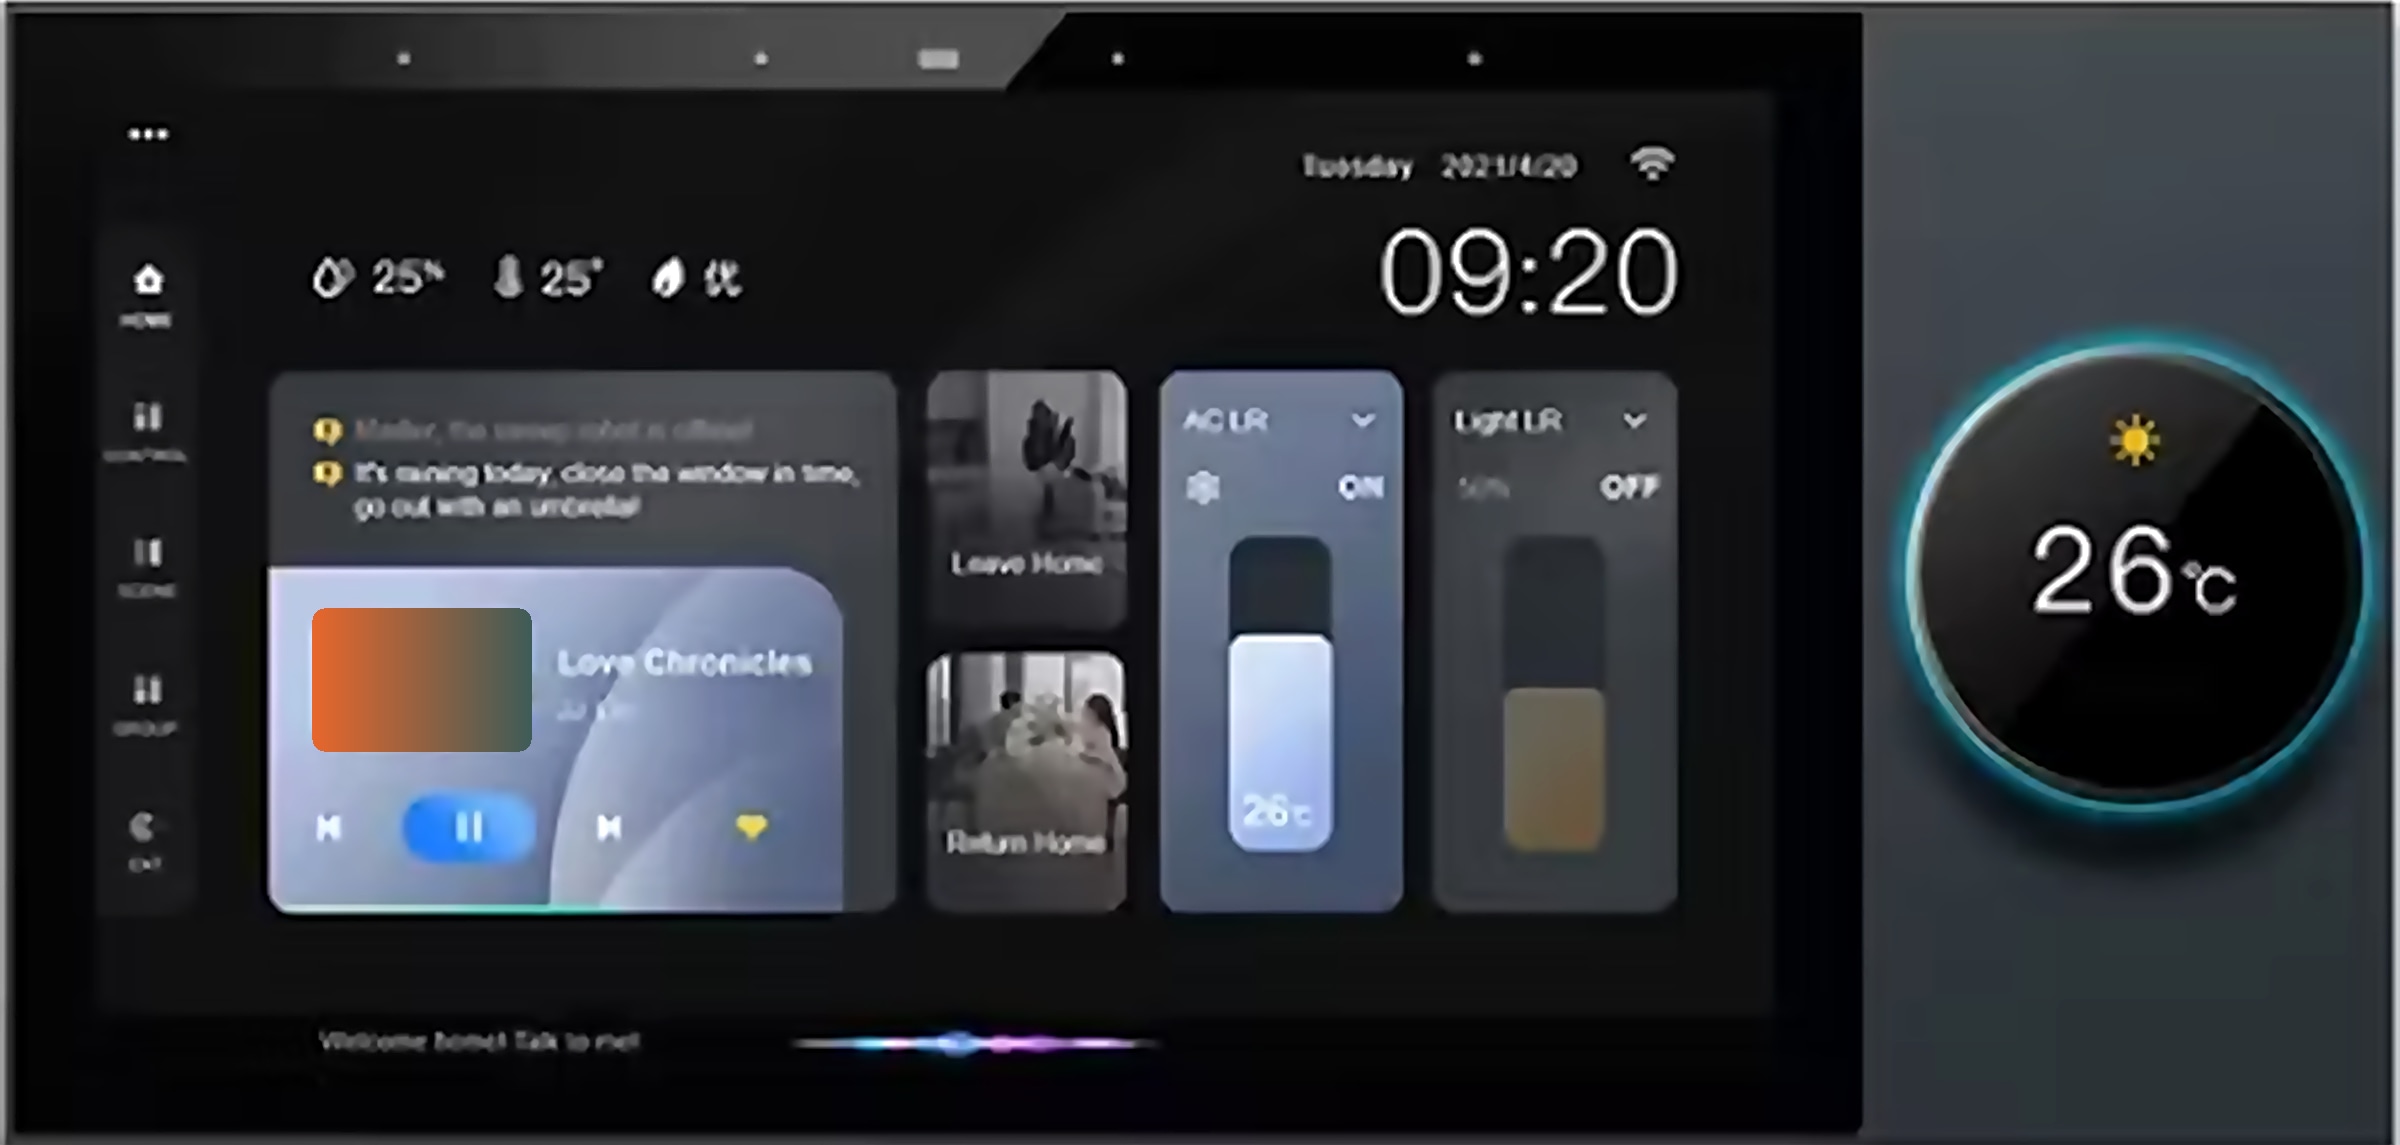
Every control panel location needs power, and a network cable is worth adding: most Spark panels list a wired LAN interface. The panel specifications don't state the supply or the back box, and panels range from 86 × 86 mm to 297 × 162 mm, so fix the model early and let a Spark partner confirm the box.
The 7-inch Panel Amplifier connects up to 8 speakers in 2 zones, so run speaker cable from its position to each ceiling speaker, grouped by zone. Several other Spark panels connect 2 speakers. Our guide to whole-home audio plans the zones room by room.
The underfloor heating sensor and the roof tank
If the T-50 will run your underfloor heating, lay its floor sensor in a sleeve before the screed. By default it controls the room from its internal sensor and limits the floor temperature with an external NTC sensor, adjustable from 25 to 70 °C.
Then wire for its version: GA drives the valve or actuator on the manifold (5 A maximum), GB switches an electric heating cable or mat (16 A maximum), and GC starts a gas boiler through a dry contact (5 A maximum).
Power for the tank monitor
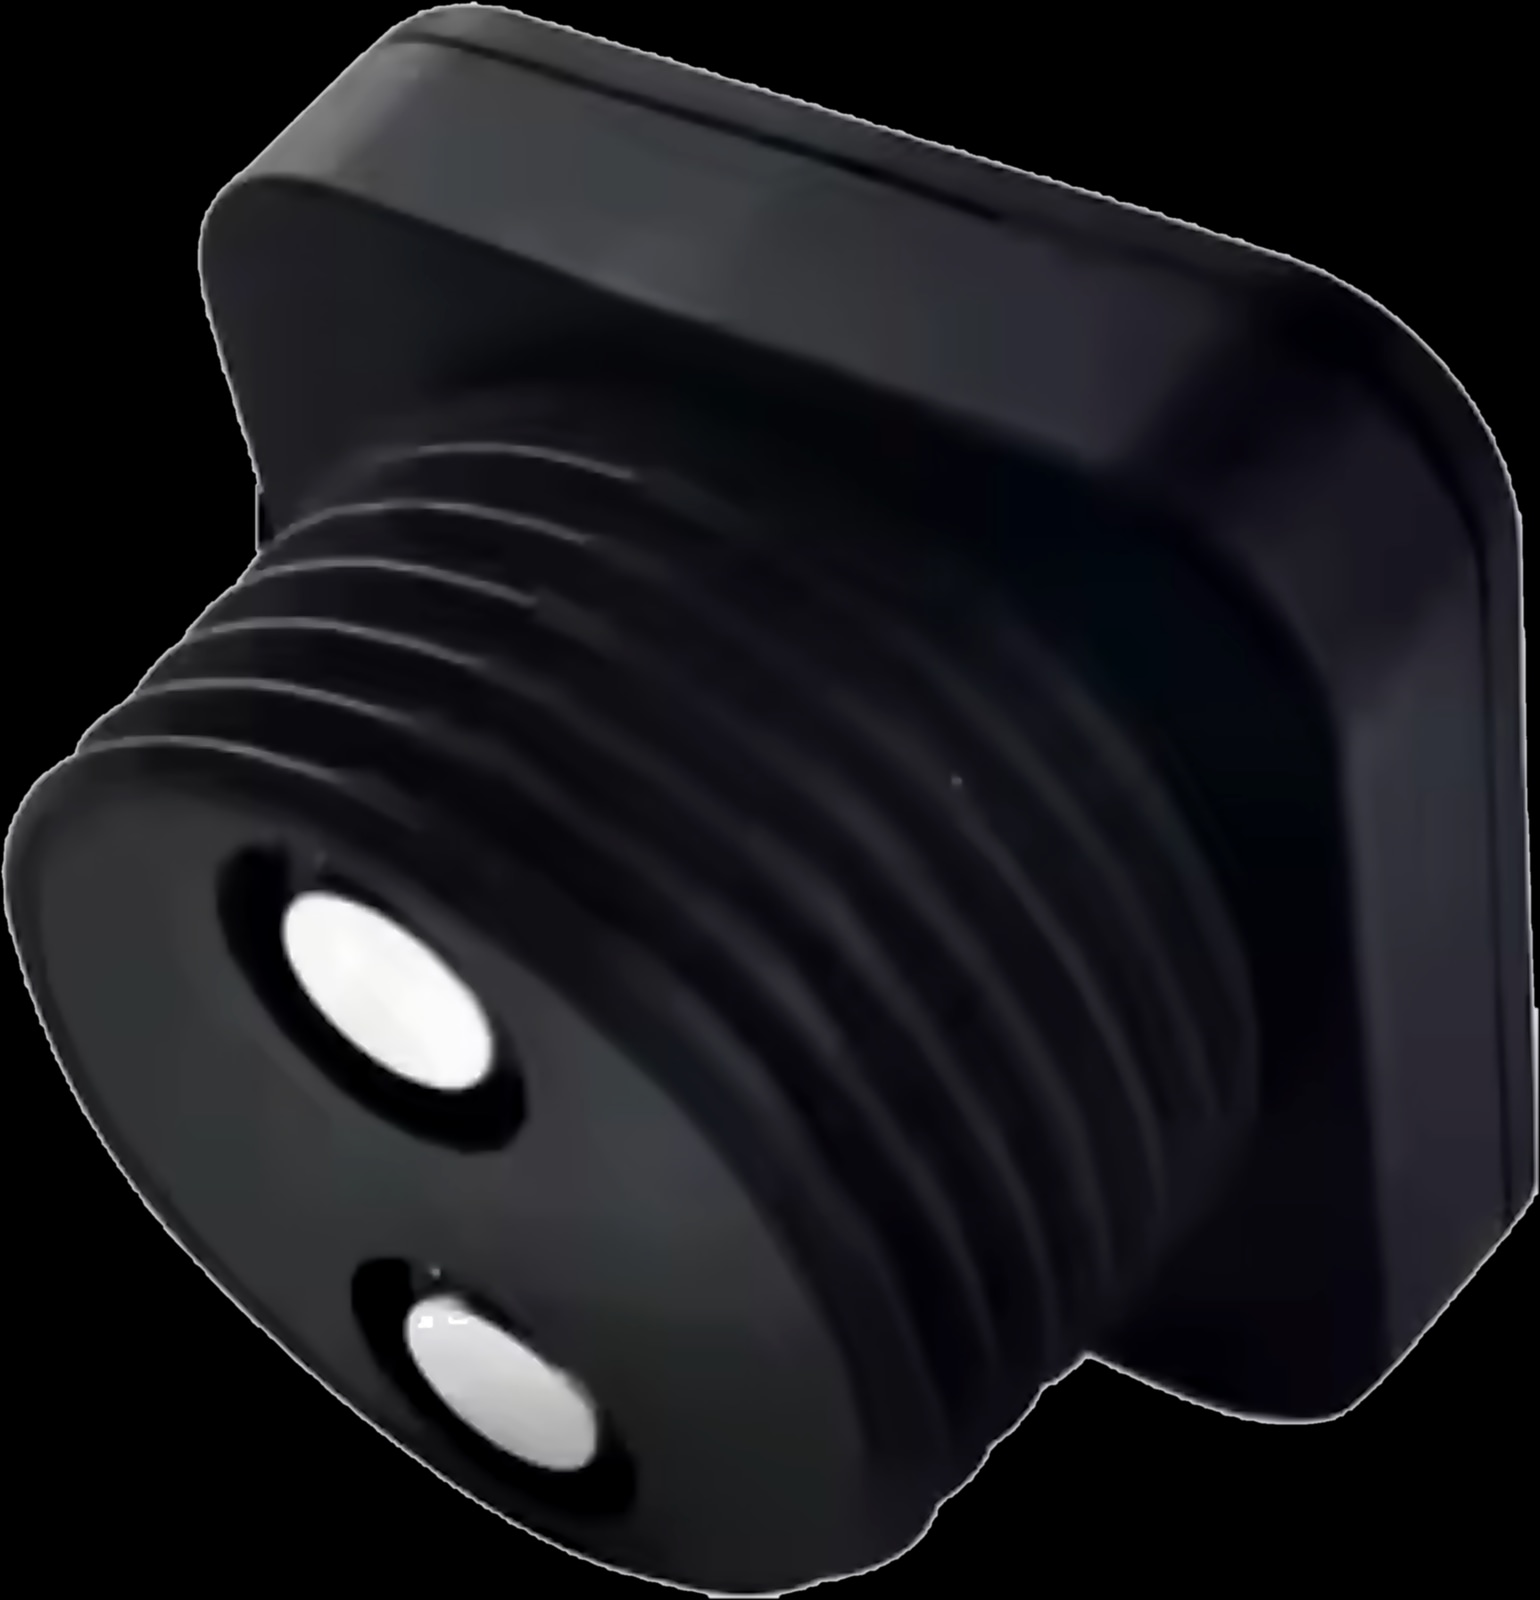
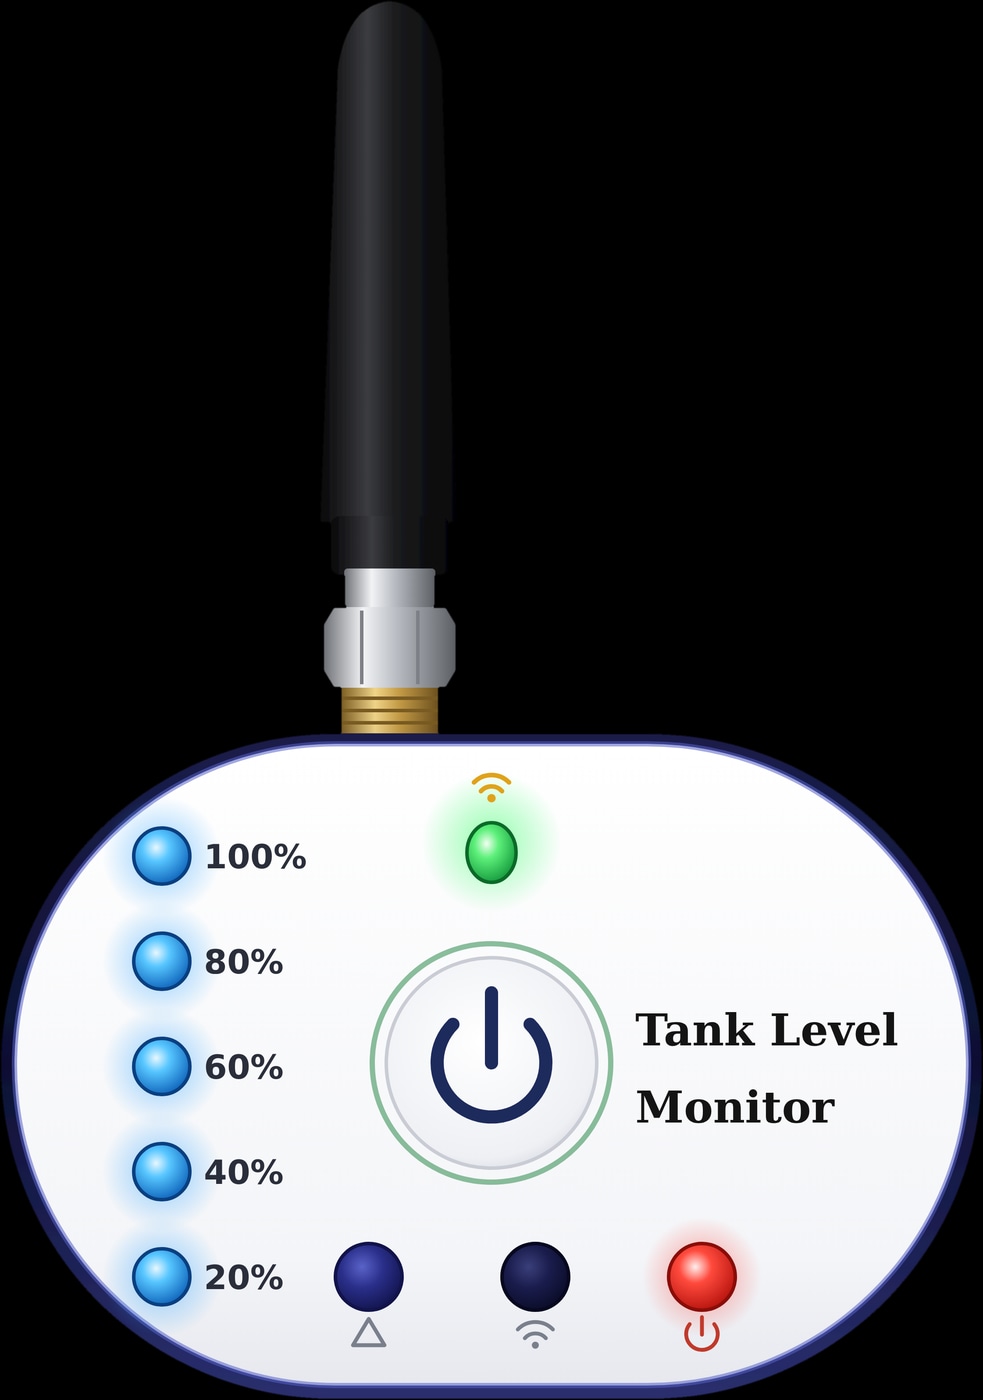
The WL-50 tank level monitor pairs a tank-top sensor on a 3 m cable with a display in the house, each on a 5 V adapter with a 1.5 m cable, so plan a socket on the roof and one at the display. The sensor reaches the display by LoRa radio, so only the display needs 2.4 GHz Wi-Fi.
A Wi-Fi sensor fitted on the tank itself needs signal on the roof. If the WL-50 will also run the pump, a Spark partner or your electrician connects it.
Smart home prewire, phase by phase
Work in this order, with your electrician and a Spark partner involved from the first drawings.
- 1
On the drawings
Mark every switch, module, panel, motorised window, speaker, door station and tank, and decide which circuits go to the board.
- 2
First fix: power
A neutral to every switch box, the agreed boxes, the board circuits, and power at the windows, panels, router, roof and tank display.
- 3
First fix: low-voltage cable
In conduit: intercom and lock cable, network cable to the router and panels, and speaker cable to each speaker.
- 4
Floors
The T-50 floor sensor in its sleeve, and the thermostat cable to the manifold or boiler, before the screed.
- 5
Before plastering
Photograph and label every run and box, then check them against the drawings.
- 6
After finishing
Fit the devices, pair them in the Tuya Smart app, and test every switch, motor and scene.
Products to plan into the drawings
Questions people ask about smart home wiring
What wiring does a smart home need?
Mostly ordinary wiring in the right places: a neutral in every switch box, and power at motorised windows, panels, the router and the tank. Add board space for a 16-CH Relay, the intercom cable your kit names and speaker cable for amplifier panels.
Do smart switches need a neutral wire?
Spark's modules behind the switch do: the ZR-50, ZR-55, ZR-60 and their Wi-Fi versions all require one in the box. In a new build, run a neutral to every switch box so any switch can take a module later.
Is Cat6 needed for a video intercom?
It depends on the kit. The Spark S-302 uses one UTP Cat5 or Cat5e cable, up to 50 m, while Spark's standalone face recognition door stations list PoE over Cat5 or Cat6. Choose the model, then pull the cable it specifies.
Can I add a smart home after plastering?
Often, yes. Zigbee and Wi-Fi devices need no new cable runs, and modules fit behind switches where the box has a neutral. What is hard later is anything that needs new cable, such as an intercom run, a window power point or a floor sensor.
How big should the switch box be for a smart module?
Spark's specifications don't give a box size. The ZR-50 and ZR-55 measure 39.2 × 39.2 × 18 mm and share the box with the switch wiring, so agree the box with your electrician and a Spark partner first.